


Mama’s when it comes to festive fun, my number one tip is make life easy on yourself! Dying Easter eggs is plenty, you don’t need to take it ten steps further by crushing up your own all natural ingredients, or buying a ten step kit to create marbled eggs with a glitter finish, just buy the traditional (cheapest) egg dying kit you can find and SIMPLIFY!

My daughters are currently ages 5, 3 and 1, which means any activity can at times feel pretty hectic, but if I take the steps to make the process simple, I know I’m going to actually make a memory worth remembering. Take a look at the five easy steps we took to dye our Easter eggs this year! My girls had so much fun, I didn’t lose any hair and we all love admiring our rainbow colored eggs because when we look at them we remember laughing and having fun! We remember Emmy dipping her hand in the green dye for so long, her little hand looked like baby hulk, or we look at Avery’s two layer green/pink “watermelon” egg and compliment how creative she is. Don’t make life too hard on yourselves Mama, make your festive memories simple, I promise you, it’s worth it.

Five EASY Steps to Dying Easter Eggs with Toddlers
Materials Used
– PAAS Easter Egg Dying Kit (plus an extra Egg Dipper, totally worth the money)
– 18 Eggs (bought the CHEAPEST eggs possible, we don’t eat our dyed eggs)
– White Vinegar
Step 1: Boil your eggs, I covered our eggs with an inch of extra water past the tops and they boiled just right!

Step 2: Once water is at a boil, let eggs boil for around 8 min. for nice firm hard boiled eggs (perfect for toddler handling).

Step 3: Rinse in ice cold water, put in refrigerator to cool.

Step 4: Prep your dye cups, the PAAS Egg dying kit even came with disposable cups (yasss) that you can toss right after you finish your dying.
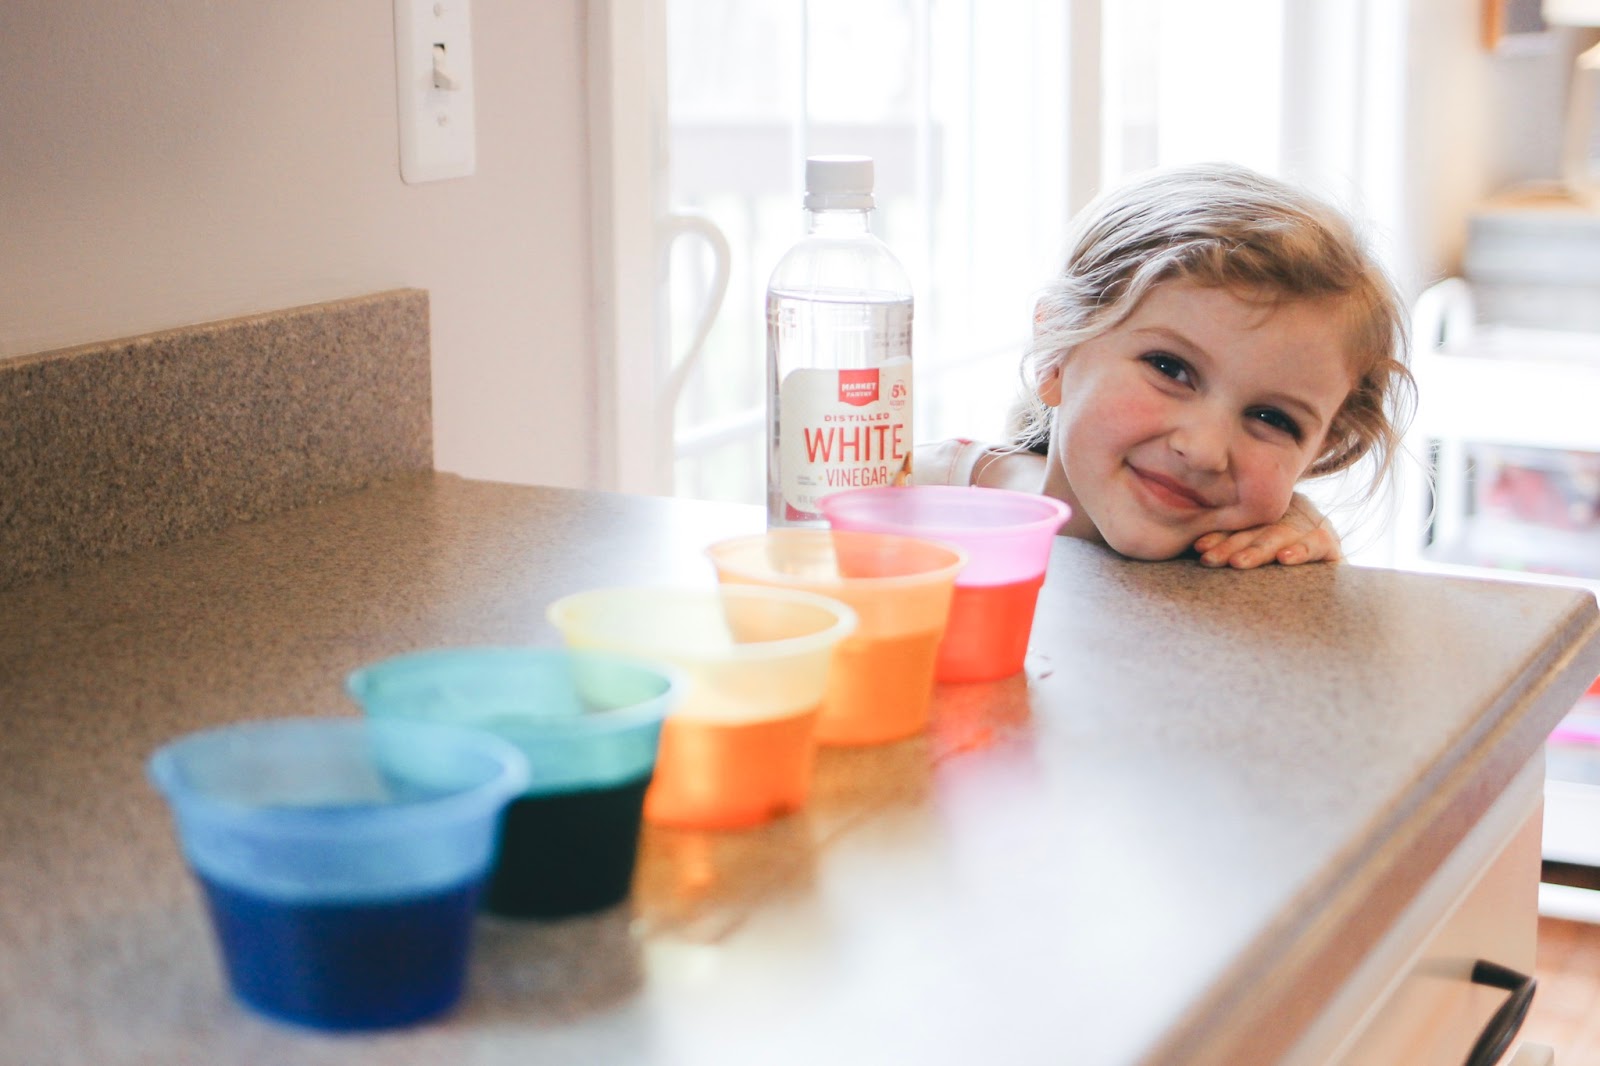
Step 5: Dye! My little ladies were able to completely dye the eggs on their own using the Egg Dipper, they loved trying to mix different colors, writing their names with the wax crayon and even added a few stickers to our eggs once they were dry.


See, I told you it was easy! As the girls get older, I could see us attempting some more challenging egg kits, but this was simple, fun and perfect for their ages. They were able to complete majority of the project with independence, which always makes them feel great! It was the perfect afternoon activity and a memory that we will all love looking back on.


Other Popular Posts on Snyder Family Co. Blog


2